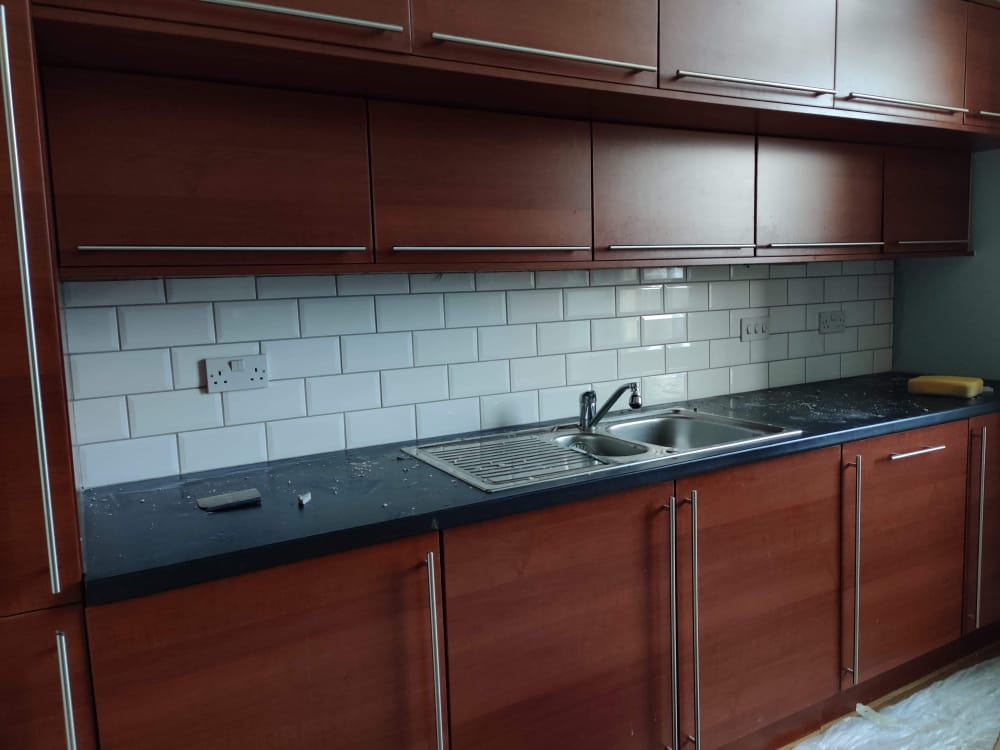
As you know, we have been going through the process of updating and improving our lovely Glasgow flat. One of the items we didn't plan on doing was the backsplash in our kitchen - because when we moved in it was perfectly fine! So we just painted the wall above the small splashback in the same Pointing as the rest of the kitchen.
However, we quickly realised we are mucky pups and we were getting splashes on the paint!
So, we thought tiling was the best way to go to keep it clean and also to brighten up the area between the cabinets. This was our first foray into tiling, so we wanted to keep it simple and classic with some subway tiles - although we did go for a bevelled edge on them as I prefer them to the flat subway tiles.
So in preparation we had to remove the existing splashback, remove the under-counter lighting to get us in there and also loosen the plugs to work around. We also had to coat the wall with PVA bond to ensure the adhesive would work.
When it came to tiling itself we used standard subway tiles (from Topps Tiles, they have approximately a million to chose from and they always seem to change). We also had the wee 2mm spacers, tile adhesive and tile cutter.
After we got the tiles up we grouted it with 20% grey, so a very light grey grout. As I didn't really want to have more contrast.
And that's it - wham, bam done!
I think splashbacks are the perfect beginner tiling project, now for a bathroom project!
Have you ever tiled? How did it go?


Comments
Post a Comment
Thanks for taking the time to comment, I read every one!